
Garage Door Opener Safety Reversal: Test Both Systems in Ten Minutes
If your garage door just closed on a bin, a bumper, or worse and kept pushing instead of reversing, stop using the door now — its most important safety system has failed. Modern openers carry two separate reversal systems, and federal safety rules have required this two-layer entrapment protection on new residential openers for decades. This guide explains what each system does, how to test both in about ten minutes with a scrap 2x4 and a broom, and what it means when a test fails.
Request Service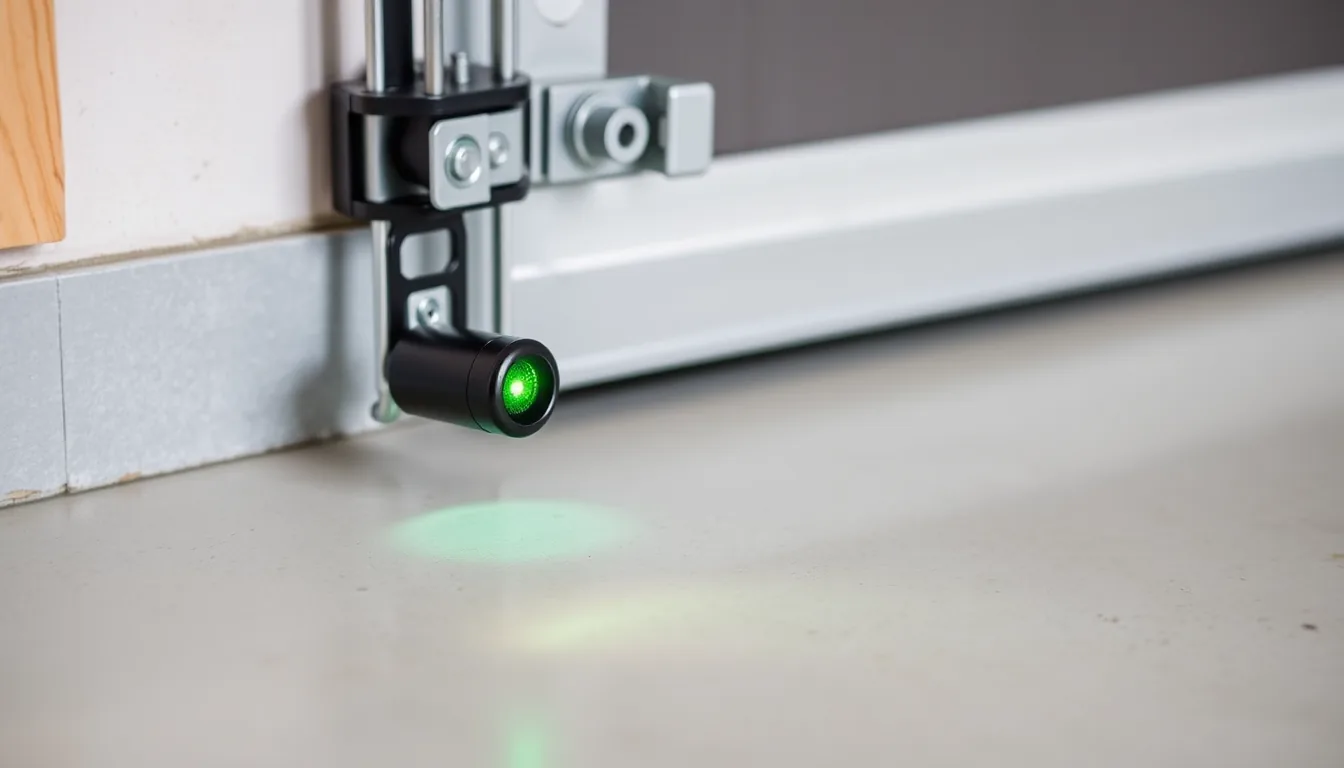
Failed Reversal: What to Do in the First Ten Minutes
If the door just closed on something and kept pushing instead of backing off, treat the opener as out of service. Unplug it or stop using the remotes, and move the door by hand only if it travels freely. Keep children and pets out of the garage until it has been checked.
Do not pull the red emergency release cord while the door is up. If a spring is weak or broken, releasing the trolley with the door raised can let the full weight of the door slam down.
Waiting makes this worse in two ways. A door that will not reverse is an entrapment hazard every single time it closes. And an opener that keeps driving into obstructions strains its drive gear and trolley carriage, turning a small adjustment into a larger repair.
Two Reversal Systems, Both Required by Law
UL 325 is the safety standard that governs garage door openers in the United States, and automatic contact reversal has been part of it for decades: a closing door that meets an obstruction must stop and reverse instead of continuing to press down.
Photo-eye beams came later. Since January 1, 1993, a federal rule has required new residential openers to carry a second, independent form of entrapment protection, and photoelectric sensors quickly became the standard way to meet it. The two small lenses face each other across the opening and must sit no more than six inches above the floor — low enough to catch a crawling child or a pet.
The two systems back each other up. The beam stops the door before contact; the contact system reverses it if something gets past the beam. A safe opener passes both tests, not just one.
Run the 2x4 Contact Test
This test is safe to do yourself. You need one scrap 2x4.
- Lay the board flat on the floor, centered under the door. Laid flat it stands about 1.5 inches tall — low enough to pass under the photo-eye beam, so this test isolates the contact system.
- Move cars, bikes, and people clear of the opening.
- Close the door with the wall button and watch closely.
The door should reverse within about two seconds of touching the wood and travel back to fully open. If it stalls on the board, keeps pressing down on it, or simply stops without reversing, the contact-reversal system has failed the test.
Run the Beam-Interruption Test
Run this one right after the 2x4 test. You need a broom.
- Start the door closing with the wall button.
- While it is moving, sweep the broom handle through the beam path — the invisible line between the two lenses near the floor.
- The door should stop and reverse to fully open the moment the beam breaks.
Then try the opposite case: block the beam first and press close. Most openers will refuse to close from the remote and flash the overhead light as a complaint. Both behaviors mean the beam system is working. A door that keeps closing through a broken beam has failed.
What Failing Each Test Means
A failed 2x4 test usually points to the close-force setting, the down travel limit, or wear inside the opener head. Force and limit adjustments are technician work. The dials look simple, but a force setting turned too high makes the door press dangerously hard before it reverses — exactly the failure you just found — while one set too low leaves the door reversing on nothing at all.
A failed beam test has friendlier causes, and some are safe to fix yourself:
- Wipe both lenses with a soft, dry cloth. A film of dust or a cobweb is enough to blind them.
- Check the small indicator LEDs. On most brands the sending eye holds a steady light, while the receiving eye's light goes dark or blinks when the pair is knocked out of alignment. Gently nudge the bracket until the light steadies.
- Look for pinched, chewed, or stapled low-voltage wire along the jamb and ceiling.
Never tape a sensor to the wall to force the door to close. That bypasses the entrapment protection entirely and leaves the door blind.
When to Send a Service Request
If either test still fails after you have cleaned and realigned the eyes, stop using the opener for automatic closing and submit a service request through the form on our contact page. Emergency garage door problems are our focus, and a reversal failure qualifies: it is the difference between a door that bumps an obstacle and one that crushes it.
In your request, note which test failed, the opener brand and rough age, and what the sensor LEDs are doing. A technician can assess the force settings, travel limits, sensors, and logic board together — repair needs vary by opener model and age. Once everything passes, repeat both tests monthly; opener manufacturers and safety groups recommend that schedule.
Frequently Asked Questions
My opener predates 1993 and has no photo eyes. Can sensors be added to it?
Sometimes, but not always. Photo-eye kits are matched to specific opener brands and control boards, and many pre-1993 units have nowhere to wire them in. An opener that old also predates decades of reversal-standard updates, so replacement is often the safer path. Describe the brand and age in a service request and a technician can assess which option fits your door.
The door reverses for the broom test but drives into the 2x4. Why would one pass and one fail?
Because they are independent systems. The broom test checks the photo eyes; the 2x4 test checks contact reversal, which depends on the opener's close-force sensing. A door can have perfectly aligned eyes and still press through an obstruction if the force is set too high or the opener is worn. Treat a contact failure as urgent, and leave force adjustments to a technician.